|

Maio/06/2023

by
FreeWebsiteTranslation.com
Todos os meus
tutoriais são pessoais.
Qualquer semelhança com os outros seria
pura coincidência.

|
Filters
*Carolaine and Sensibility -
CS-LDots
*Simple - Diamond
*Mehdi - Sorting Tiles
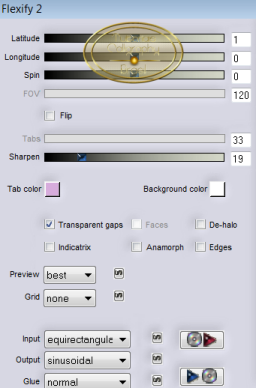
*Flaming Pear
- Flrxify 2
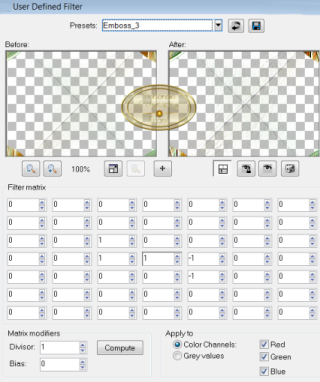
*User Defined Filter -
Emboss 3
*Mura's Meister Perspective
Tiling
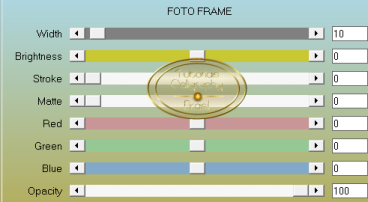
*AAA Frames - Foto Frame
|
|
Mask
*@nn
(A quem agradeço)
|
|
Cores Usadas

|
|
Vamos usar
*Um tube principal
*Um tube Paisagem
(Fique a vontade em
usar tubes de sua
preferência)
|
Materiais

1-
Escolha e abra uma das
alphas que estão no material
2- Layers - New Raster Layer
- Selections All
3- Abra o tube Callitubes-382paisagens
(Ou o tube de sua
preferência)
Edit
Copy - Paste Into Selection
- Selections - Selection
none
4- Layers - Merge Down
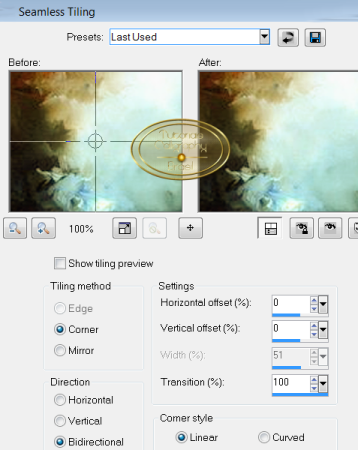
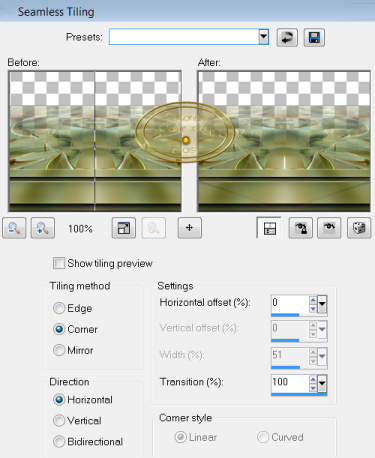
5- Effects -
Image Effects - Seamless
Tiling
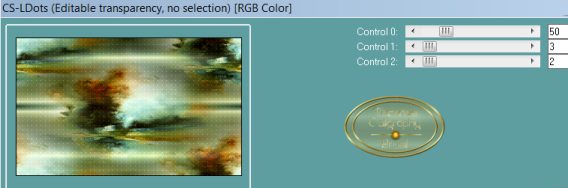
6- Plugin Carolaine and
Sensibility - CS-LDots
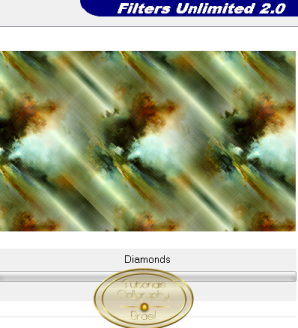
7- Filters Unlimited 2.0 -
Plugin Simple - Diamonds
8-Duplique - Feche
a Raster 1
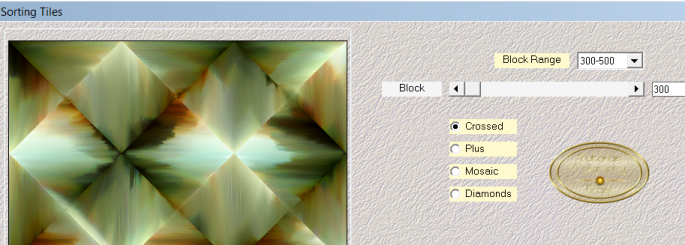
9- Plugin Mehdi - Sorting
Tiles
10- Aplique a mask
@nn050912_mask_155_tdstudio
Merge group
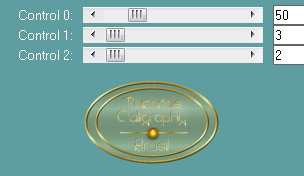
11-Plugin Carolaine and
Sensibility - CS-LDots
12-Duplique
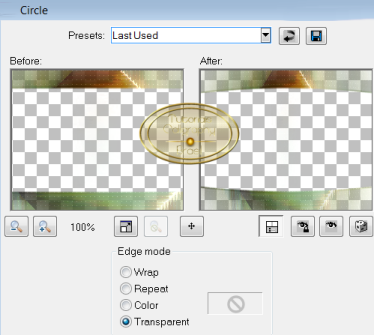
13- Image - Effects -
Geometric Effects - Cicle -
Transparente
*Layers - Merge Down
14-Plugin Flaming Pear -
Flexify 2

15- User Defined Filter - Emboss 3
16- Duplique - Layers - Merge Down
17- Abra a Raster 1
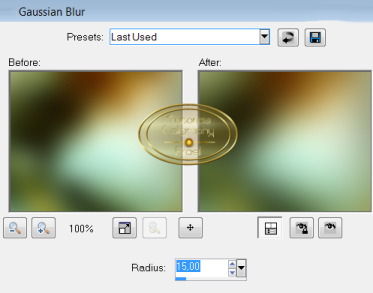
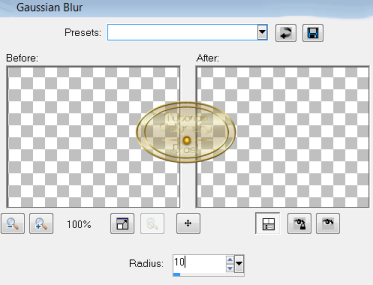
18- Adjust - Blur - Gaussian
Blur
19-Effects -
Image Effects - Seamless
Tiling
20- Clique na copy of
Raster
1 - Layers - Merge Down -
Duplique
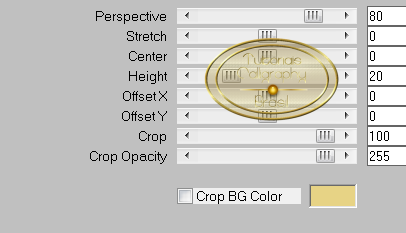
21-Plugin Mura's Meister
Perspective Tiling
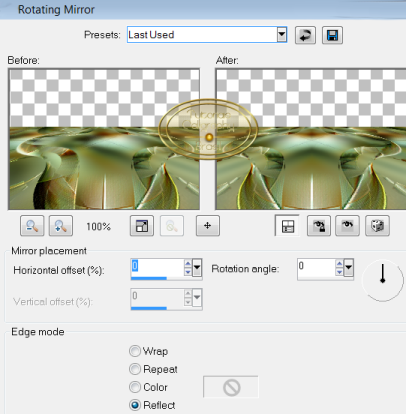
22-Image - Effects -
Reflection Effects -
Rotating Mirror
23-Clique na ferramenta Magic Wand
Marcados: Tolerance - 0
Feather - 80
24- Com o botão delete dê 7
cliques
*Selections - Selection None
25- Duplique - Layers -
Merge Down
26- Duplique novamente
27- Plugin Flaming Pear -
Flexify 2
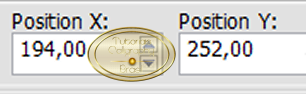
28- Clique na ferramenta Pick
Position X = 194,00
Position Y = 252,00
29-Duplique - Image -
Mirror Vertical
*Layers - Merge Down
30- Duplique
31- Image - Add Borders - #ccdeb3
(Cor
clara)
32-
Edit Copy
33- Selections All -
Image - Add Borders -
30px
Pinte de qualquer cor -
Selections Invert
Paste Into Selection
34- Adjust - Blur - Gaussian
Blur
35- Plugin AAA Frames - Foto Frame
*Selections none
36-Image - Add Borders - #ccdeb3
(Cor
clara)
37- Selections All -
Image - Add Borders -
50px
Pinte de qualquer cor -
Selections Invert
Paste Into Selection
38-Adjust - Blur - Gaussian
Blur
39-Plugin AAA Frames - Foto Frame
40- Image - Mirror Horizontal
*Selections none
41- Duplique
42- Plugin Mura's Meister
Perspective Tiling
43- Image - Effects -
Reflection Effects -
Rotating Mirror
44- Clique na ferramenta Magic Wand
Marcados: Tolerance - 0
Feather - 80
45- Com o botão delete dê 2 cliques
*Selections - Selection None
46- Duplique
47- Effects -
Image Effects - Seamless
Tiling
47-Duplique 2 vezes - Layers Merge
Down
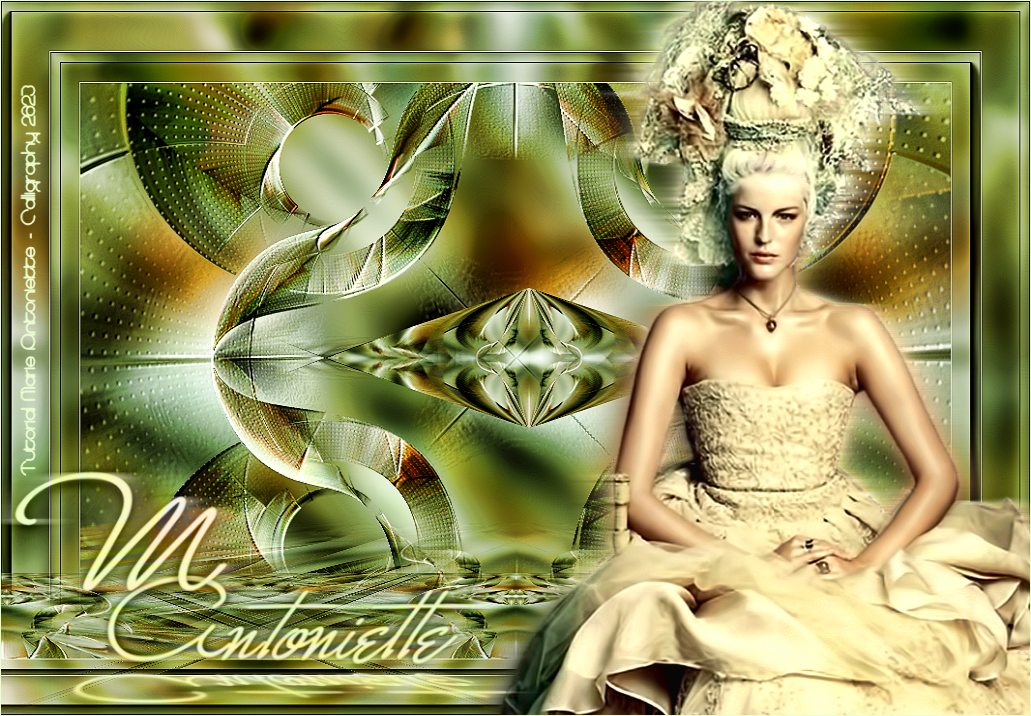
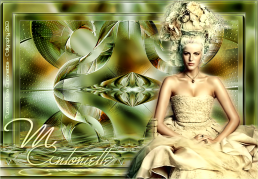
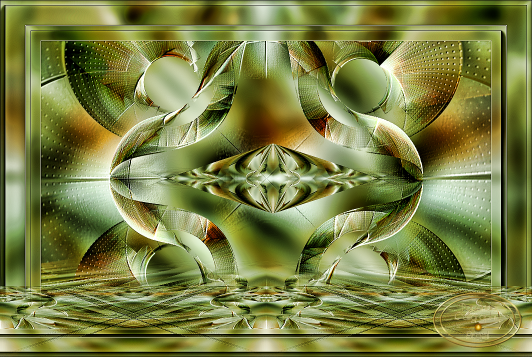
48- Resultado do tutorial
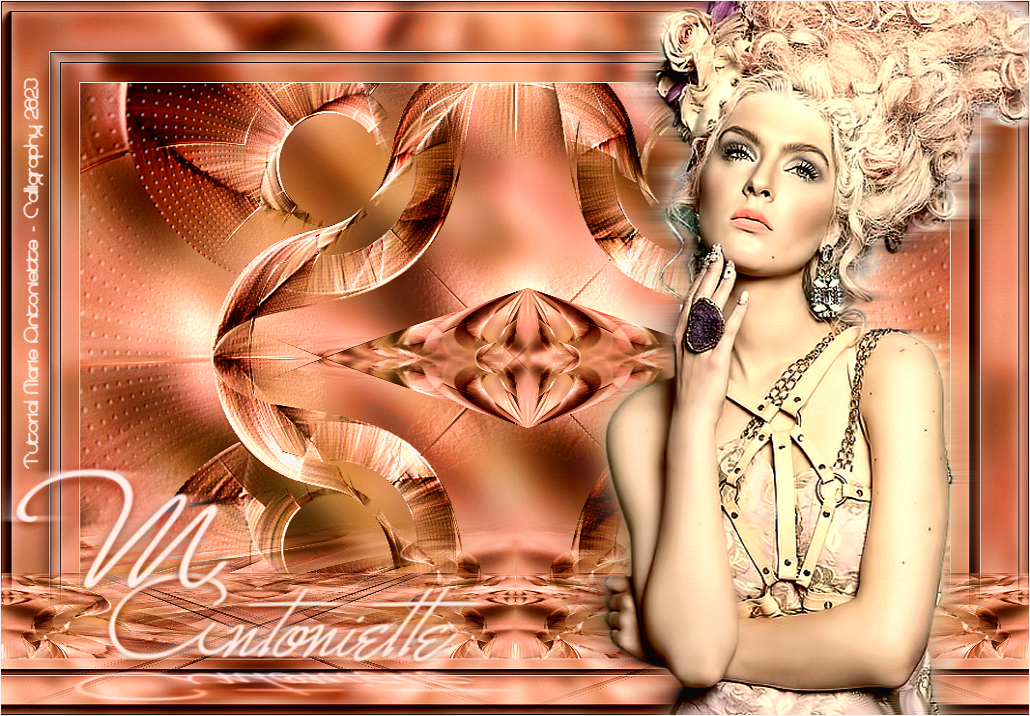
49- Edit copy no tube
Callitubes-3400mulheres
(Ou o
seu tube de sua preferência)
*Coloque ele do lado direito
50- Edit copy no titulo
Marie Antoniette
*Coloque como mostro na imagem
**Blend Mode - Luminance(legacy)
51- Image - Add
Borders - #ccdeb3
(Cor
clara)
52-Redimensione seu trabalho
deixando em 1030 x 716px
53- Assine e Salve
54- Não esqueça de dar os créditos
aos que são devidos.
Tubes
Calligraphy
Versões
Tutorial criado por
Calligraphy em 06 de
Maio de 2023
** É
proibido leva-los
para sites, blogs,
aulas, *modificar*,
*traduzir* sem minha
autorização.**
Muito Obrigada.
Calli®
Voltar
Todos os direitos reservados à Calligraphy®
- Copyright© - 2020/2023 - Webmaster -
Calligraphy® |