|


Tutorial criado por Inge-Lore's em Março/1/2024
Agradeço a permissão e confiança da
amiga Inge-Lore's em me deixar traduzir seus tutoriais.
Sendo que os "Direitos Autoriais" pertecem a Inge-Lore's.
Sendo proibido leva-los para sites, blogs, aulas, *modificar*,
*Traduzir* sem a autorização da Autora.
Muito Obrigada.
Calli®

|
Filters
*Distort - Radial Zig Zag
*Mura's Meister Perspctive Tiling
*FM Tile Tool - Saturation Emboss
*AAA Frame - Foto Frame
|
|
Masks
*0303
*Ildilko
*Narah
(A quem
agradeço)
|
|
Cores usadas
|
|
Vamos usar
*Uma imagem
*Um tube principal
|
*PARA
QUEM
USA
O
GOOGLE*
Para baixar materiais
Basta
clicar
aqui
Materiais


1-Abra uma imagem transparente de 1000
x 650px
2-Selections - Selection All
3-Abra seu misted - Edit Copy - Paste Into Selection -
Selection none
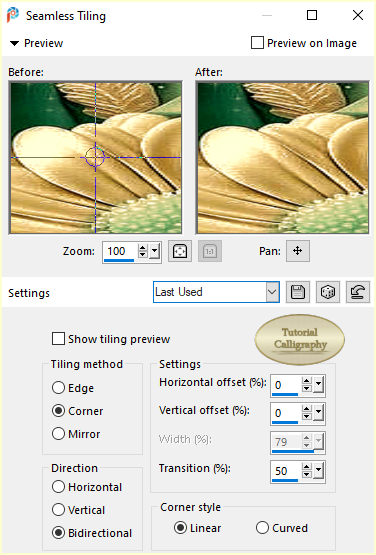
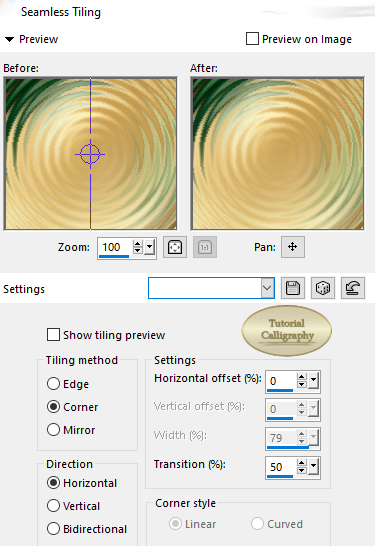
4-Effects - Image Effects - Seamless Tiling
5-Adjust - Blur - Motion Blur
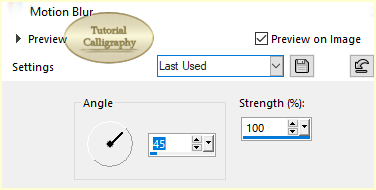
** Aplique 2 vezes
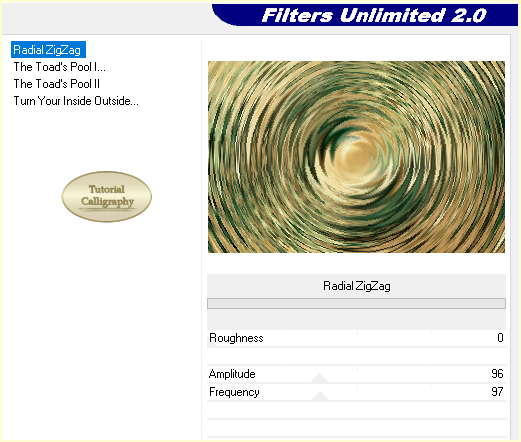
6-Plugin Distort - Radial ZigZag
7-Effects - Image Effects - Seamless Tiling
8-Duplique
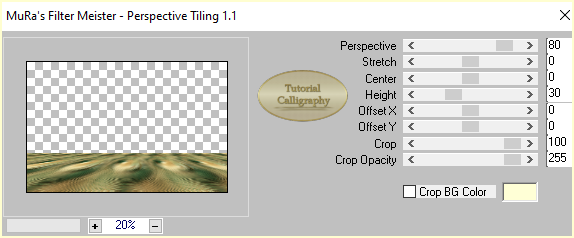
9- Plugin Mura's Meister Perspctive Tiling
10-Effects 3D - Drop Shadow
0/0/100/50/Cor #000000
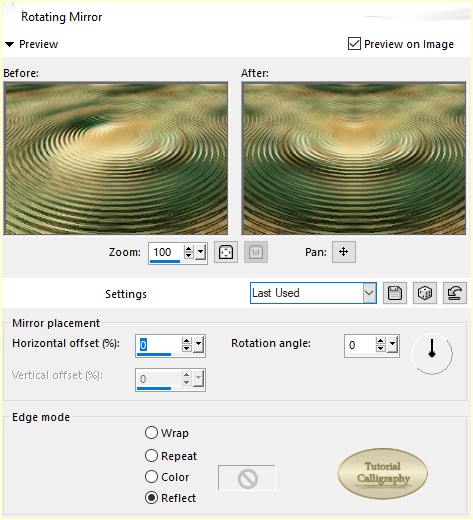
11-Effects - Reflections Effects - Rotating Mirror
12-Clique na Raster 1 - Layers - New Raster Layer
**Pinte com a cor escura do seu trabalho
13-Aplique a Mask - 0303 - Merge group
14-Effects - Edge Effects - Enhance
15-Effects Texture - Effects Blinds
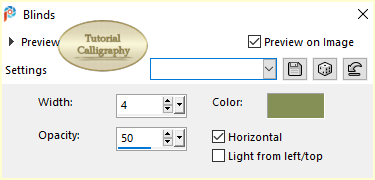
16-Effects Texture - Effects Blinds

17-Layers - New Raster
Layer
**Pinte com a core escura do seu trabalho
18-Aplique a mask - Ildiko Designs Created@-mask &ildiko(25)
**Merge group
19-Effects - Edge Effects -
Enhance
20- Clique na ferramenta Pick
**Puxa para as laterais como no print
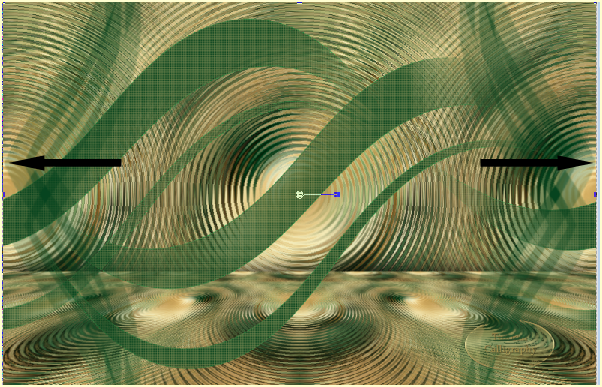
21- Layer - Arrange - Move Down - 2 vezes
22-
Layers - New Raster Layer
23- Abra seu tube misted - Edit Copy
**Paste As New Layer
***Se for necessário dê um rezise
24-Adjust - Sharpness - Sharpen
25-Plugin FM Tile Tool - Saturation Emboss
**Como abrir
26-Ativar a Raster do topo - Layers - New Raster Layer
**Abra e Edit copy no decor-1
**Paste As New Layer
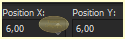
27-Clique na ferramenta Pick
Marcados: Position X = 6,00
Position Y = 6,00
28-Blende Mode - Luminance(legacy)
29- Duplique - Image - Mirror Horizontal - Layer - Merge
Down
30-Effects 3D - Drop Shadow
0/0/100/50/Cor #000000
31-Layers - New Raster Layer
**Abra e Edit copy no decor-2
**Paste As New Layer
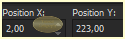
32-Clique na ferramenta Pick
Marcados: Position X = 2,00
Position Y = 223,00
33-Blende Mode - Luminance(legacy)
34-Duplique - Image - Mirror Horizontal - Layer - Merge
Down
35-Effects 3D - Drop Shadow
0/0/100/50/Cor #000000
36-Abra e Edit Copy no tube La Decor 1
**Paste As New Layer
***Objects - Align - Top
37- Abra e Edit Copy no decor-3
*Paste As New Layer
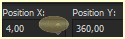
38-Clique na ferramenta Pick
Marcados: Position X = 4,00
Position Y = 360,00
39-Blende Mode - Luminance(legacy)
40-Duplique - Image - Mirror Horizontal - Layer - Merge
Down
41-Effects 3D - Drop Shadow
0/0/100/50/Cor #000000
42- Clique na Raster 2 - Layers - New Raster Layer
*Pinte com uma cor clara
43- Aplique a mask - Narah's Mask - 1683
*Merge Group
44-Effects - Edge Effects -
Enhance
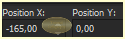
45-Clique na ferramenta
Pick
Marcados: Position X = -165,00
Position Y = 0,00
46-Duplique - Image - Mirror Horizontal - Layer - Merge
Down
47- Image - Add Borders
2px - cor Clara
48- Edit Copy
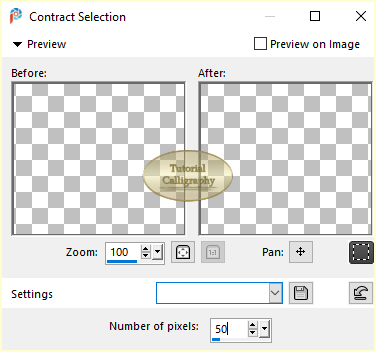
49-Selections - Selection All - Modify - Contract
Selection - 50px
*Paste Into Selection
50-Effects 3D - Drop Shadow
0/0/100/50/Cor #000000
51- Selections - Selection Invert
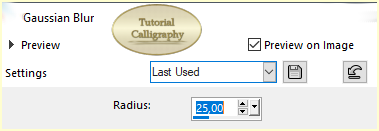
52- Adjust - Blur - Gaussian Blur
53- Plugin AAA Frames - Foto Frame
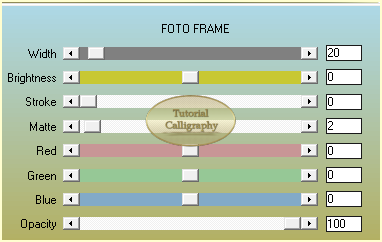
*Selections - Selection None
54- Abra e Edit Copy no tube
Annevalerie-Strawberryswing-el-38
**Paste As New Layer
55-Clique na ferramenta Pick
Marcados: Position X = 76,00
Position Y = 61,00

56-Abra e Edit Copy no tube K@rine-Ladybug-76
**Paste As New Layer
57-Clique na ferramenta Pick
Marcados: Position X = -3,00
Position Y = 529,00
58-Duplique - Image - Mirror Horizontal - Layer - Merge
Down
59-Effects 3D - Drop Shadow
0/0/100/50/Cor #000000
60- Abra e Edit Copy no tube
Annevalerie-Strawberryswing-el-34
**Paste As New Layer
61-Clique na ferramenta Pick
Marcados: Position X = 893,00
Position Y = 13,00
62-Duplique - Image - Mirror Horizontal - Layer - Merge
Down
63-Effects 3D - Drop Shadow
0/0/100/50/Cor #000000
64- Abre e Edit Copy em seu tube principal
**Paste As New Layer
65- Image - Add Borders
2px - cor Clara
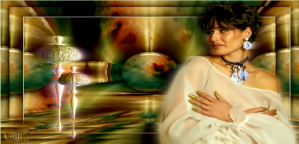
*Tutorial Original
**Basta clicar na imagem

Traduzido por Calligraphy em 17/03/2024

Voltar
Todos os direitos reservados à Calligraphy®
- Copyright© - 2020/2024 - Webmaster - Calligraphy® |